Aprilaire 600 Manual Wiring: A Comprehensive Guide
Navigating the Aprilaire 600 humidifier installation demands a detailed wiring diagram, especially when integrating with smart thermostats like Ecobee or Nest. This guide simplifies the process!
Understanding the Aprilaire 600 Humidifier
The Aprilaire 600 is a whole-house bypass humidifier designed to add moisture to your home’s air during the heating season. It’s a popular choice due to its ability to maintain optimal humidity levels, improving comfort and health. Crucially, the Model 600 and 600M are versatile, installable on either the supply or return plenum of a forced-air system, and adaptable for both right-hand or left-hand bypass duct connections.
Understanding its operation is key to successful wiring. The humidifier works by diverting a portion of the heated air from your furnace through a water panel, where it picks up moisture. This moistened air is then reintroduced into the ductwork and distributed throughout your home. Proper wiring ensures the control board accurately manages the solenoid valve, fan, and other components, responding to thermostat signals and outdoor temperature readings to maintain the desired humidity setting.
Safety Precautions Before Wiring
Prioritize safety before commencing any wiring work on your Aprilaire 600 humidifier. Always disconnect the power supply to your furnace and humidifier at the breaker box. Confirm the power is off with a non-contact voltage tester. Working with electrical systems carries inherent risks, and neglecting this step could result in severe injury or even fatality.
Furthermore, familiarize yourself with the Humidifier Control Safety and Installation Instructions provided by Aprilaire. These instructions detail crucial safety guidelines specific to the Model 600. Wear appropriate personal protective equipment (PPE), including insulated gloves and eye protection. If you are uncomfortable or lack experience with electrical wiring, do not attempt the installation yourself; consult a qualified HVAC technician. Incorrect wiring can damage the humidifier, furnace, or electrical system.
Tools Required for Wiring
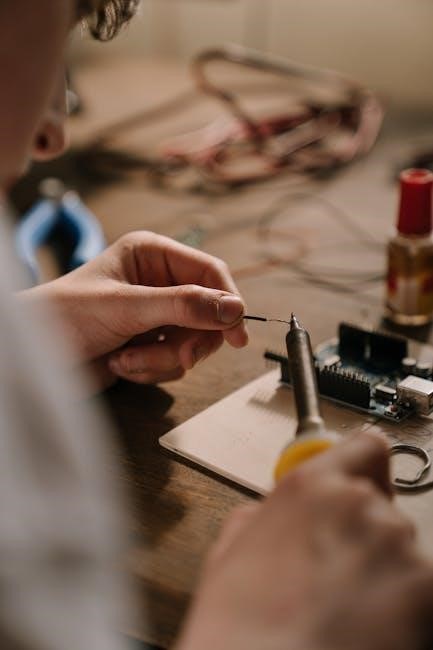
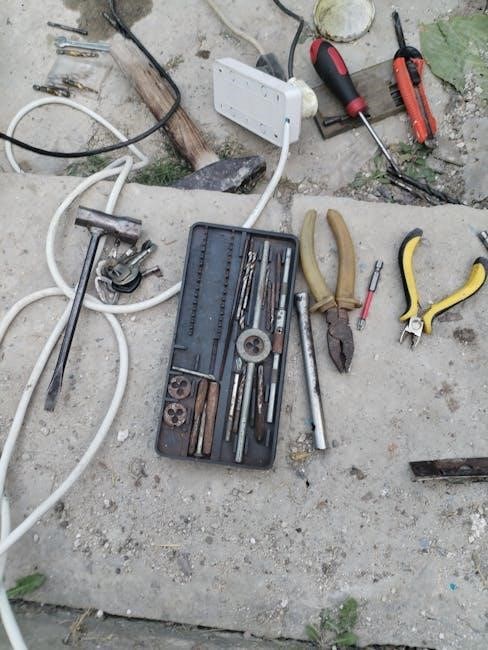
Successful Aprilaire 600 wiring necessitates having the correct tools readily available. A must-have is a non-contact voltage tester to verify power is disconnected before starting. You’ll also need a screwdriver set – both Phillips head and flathead – to access and tighten terminal screws; Wire strippers are essential for preparing wires for connection, ensuring clean and secure joins.
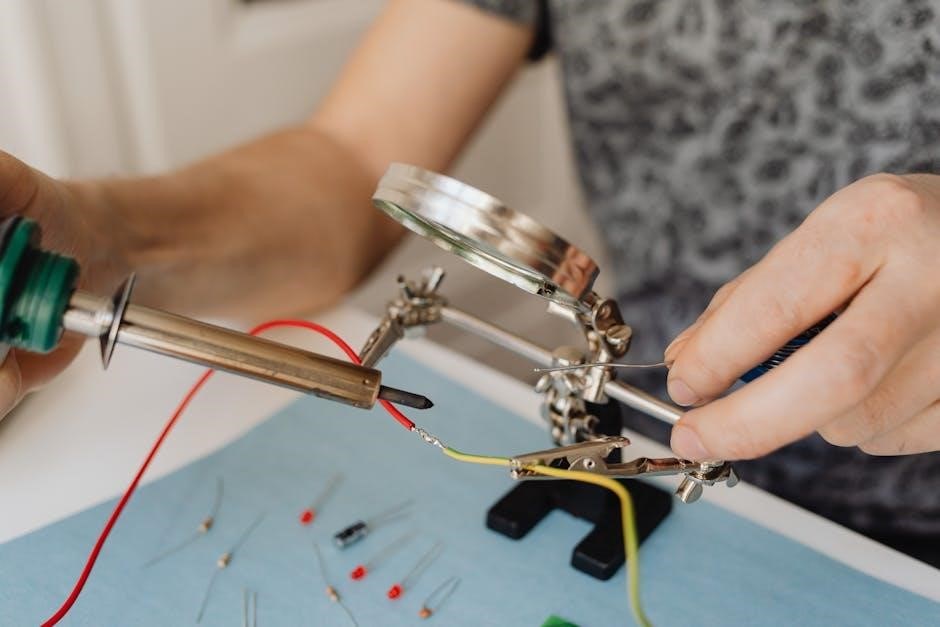
Additionally, a multimeter is incredibly useful for testing voltage and continuity, aiding in troubleshooting. Pliers, both standard and needle-nose, will assist with manipulating wires in tight spaces. Consider having electrical tape on hand for insulating connections if needed. A small flashlight or headlamp can improve visibility within the furnace or humidifier compartments. Finally, keep the Aprilaire 600 manual nearby for reference during the wiring process – it’s an invaluable resource!
Wiring Diagram Components
Understanding the Aprilaire 600 wiring diagram involves identifying key elements: the control board, thermostat connections, outdoor sensor, and furnace wiring – each crucial for operation.
Identifying the Control Board Terminals
The Aprilaire 600 control board serves as the central hub for all wiring connections. Familiarizing yourself with its terminals is paramount for successful installation. Key terminals include those for 24VAC power (typically labeled ‘R’ and ‘C’ for power and common), connections for the thermostat (G, Y, W – representing fan, cooling, and heating respectively), and a dedicated terminal for the outdoor temperature sensor.
Additionally, you’ll find terminals for the solenoid valve, which controls water flow to the humidifier, and often a neutral wire connection. Carefully consult the official Aprilaire 600 manual, as terminal labeling can sometimes vary slightly depending on the specific model revision. Incorrectly identifying or connecting to these terminals can lead to system malfunction or even damage. Always double-check your connections against the diagram before applying power.
Proper identification ensures correct functionality and prevents potential electrical hazards. A clear understanding of each terminal’s purpose is essential for a smooth and safe installation process.
Understanding the Thermostat Connections (R, C, G, Y, W)
The Aprilaire 600 integrates with your existing HVAC system through standard thermostat wiring. ‘R’ signifies 24VAC power, providing the energy source for the humidifier control. ‘C’ is the common wire, completing the circuit and is crucial for consistent operation, especially with modern thermostats. ‘G’ activates the blower fan, signaling the humidifier to operate alongside heating or cooling.
‘Y’ controls the cooling system, and ‘W’ activates the heating system. The humidifier typically operates when either the heating or cooling system is running, distributing moisture throughout your home. Correctly identifying these wires is vital; miswiring can prevent the humidifier from functioning or damage your thermostat.
Always refer to your thermostat’s wiring diagram and the Aprilaire 600 manual for precise connection instructions. If unsure, consult a qualified HVAC technician to ensure a safe and functional installation.
Outdoor Temperature Sensor Wiring
The Aprilaire 600 utilizes an outdoor temperature sensor to optimize humidity control, preventing condensation during colder months and ensuring adequate humidification when it’s warmer. This sensor typically connects to the control board using two wires – often labeled ‘T’ or ‘S’ for sensor. These wires transmit the outdoor temperature reading back to the humidifier control.
Proper placement of the sensor is crucial for accurate readings; it should be shielded from direct sunlight and precipitation, ideally on a north-facing wall. The wiring runs from the sensor to the Aprilaire 600 control board, usually a low-voltage connection.
Incorrect wiring or a faulty sensor can lead to inaccurate humidity control, potentially causing discomfort or damage. Always consult the Aprilaire 600 manual for specific wiring diagrams and sensor placement guidelines. A functioning sensor significantly enhances the humidifier’s efficiency.

Furnace Connections Explained
The Aprilaire 600 requires several connections to your furnace for power and operation. Typically, a 24VAC power source is needed, often tapped from the furnace’s control board – utilizing the ‘R’ (power) and ‘C’ (common) terminals. These provide the necessary electricity for the humidifier’s control functions.
The ‘W’ wire from your thermostat often activates the humidifier. This wire signals the furnace to energize the humidifier when heat is called for. Correct identification of these wires is paramount; miswiring can damage both the humidifier and the furnace.
Always disconnect power to the furnace before making any wiring connections. Refer to both the Aprilaire 600 manual and your furnace’s documentation for precise wiring instructions. A qualified HVAC technician should handle these connections if you’re uncomfortable working with electrical systems.

Wiring Scenarios & Configurations
Installation varies based on your system – supply or return plenum. Wiring also differs depending on whether you use a standard or smart thermostat setup.
Aprilaire 600 Wiring for Supply Plenum Installation
When installing the Aprilaire 600 on a supply plenum, careful attention to wiring is crucial for optimal performance. The Model 600 is designed to be reversible, accommodating both right and left-hand bypass duct connections, offering installation flexibility. Begin by identifying the control board terminals – typically labeled for power input, thermostat connections (R, C, G, Y, W), and the outdoor temperature sensor.
Connect the furnace’s power source to the designated terminals on the control board. Ensure proper grounding for safety. The thermostat wiring follows standard HVAC configurations: R (power), C (common), G (fan), Y (cooling), and W (heating). Connect the outdoor temperature sensor, which provides crucial data for humidity control, to its corresponding terminals. Double-check all connections against the official Aprilaire 600 manual’s wiring diagram before powering on the system. Secure wiring to prevent disconnections and ensure a reliable operation.
Aprilaire 600 Wiring for Return Plenum Installation
Similar to supply plenum installation, wiring the Aprilaire 600 to a return plenum requires meticulous attention to detail. The Model 600’s reversibility allows for adaptable installation, regardless of ductwork configuration. Begin by locating the control board and identifying the terminals for power, thermostat connections (R, C, G, Y, W), and the outdoor temperature sensor.
Connect the furnace’s power supply, ensuring a secure and grounded connection. The thermostat wiring remains consistent: R (power), C (common), G (fan), Y (cooling), and W (heating). Properly connect the outdoor temperature sensor to its designated terminals for accurate humidity readings. Always refer to the official Aprilaire 600 manual’s wiring diagram to verify correct connections. Secure all wiring to prevent accidental disconnections and maintain a stable, efficient humidifier operation. Careful planning and execution are key to a successful return plenum installation.
Wiring with a Standard Thermostat
Integrating the Aprilaire 600 with a traditional thermostat involves connecting specific wires to the humidifier’s control board. The core connections remain consistent: R (24V power), C (common wire – crucial for consistent power), G (fan activation – signals the humidifier to operate with the blower), and potentially W (heating – depending on the humidifier’s activation method).
Ensure the thermostat is compatible with the Aprilaire 600; most standard 24V thermostats are. Carefully match the wire colors to the corresponding terminals on both the thermostat and the humidifier control board. A common wire (C) is often required for reliable operation, so verify its presence and connection. Double-check all connections for tightness and proper insulation. Refer to the Aprilaire 600 manual for a detailed wiring diagram specific to standard thermostat integration, ensuring a seamless and functional setup.
Smart Thermostat Integration
Integrating the Aprilaire 600 with smart thermostats like Ecobee or Nest requires careful wiring and compatibility checks for optimal humidity control.
Aprilaire 600 Wiring with Ecobee
Connecting your Aprilaire 600 humidifier to an Ecobee smart thermostat generally involves utilizing the ‘C’ (common) wire for consistent power. The Ecobee often requires a power-extending kit (PEK) if a ‘C’ wire isn’t already present at your furnace. Typically, the Aprilaire 600’s humidifier control board connects to the Ecobee using the ‘R’ (power), ‘G’ (fan), and ‘W’ (heat) terminals.
However, precise wiring depends on your specific Ecobee model and existing wiring configuration. It’s crucial to consult both the Aprilaire 600 manual and the Ecobee installation guide. Ensure the Ecobee is configured to recognize the humidifier as an accessory. Some Ecobee models may require specific settings adjustments within the thermostat’s menu to properly control the Aprilaire 600. Incorrect wiring can lead to malfunction or damage, so double-check all connections before powering on the system.
Aprilaire 600 Wiring with Nest
Integrating an Aprilaire 600 with a Nest thermostat often presents unique challenges due to Nest’s wiring requirements. Unlike some thermostats, Nest typically doesn’t directly support a dedicated humidifier wire. Instead, the ‘G’ (fan) wire is commonly repurposed to power and control the Aprilaire 600. This requires careful consideration and potentially the use of a Nest Power Connector (NPC) if a ‘C’ wire isn’t available.
The Aprilaire 600’s control board connects to the Nest using the repurposed ‘G’ wire, along with the ‘R’ (power) wire. It’s vital to configure the Nest thermostat correctly, designating the ‘G’ wire as a humidifier output. Consult both the Aprilaire 600 manual and the Nest documentation for specific instructions. Improper configuration or wiring can result in the humidifier not functioning correctly or causing issues with your HVAC system. Always prioritize safety and double-check connections.
Compatibility Considerations for Smart Thermostats
When integrating the Aprilaire 600 with smart thermostats, compatibility isn’t always guaranteed. While Ecobee and Nest are popular choices, their wiring configurations and feature sets differ. Some smart thermostats require a ‘C’ (common) wire for consistent power, which may not be present in older HVAC systems, necessitating a C-wire adapter.
Furthermore, the ability to independently control the humidifier function varies. Some thermostats offer dedicated humidifier control settings, while others rely on repurposing existing wires like the ‘G’ (fan) wire. Always verify the smart thermostat’s specifications and ensure it supports humidifier control before purchasing. Reviewing online forums and compatibility lists can provide valuable insights from other users. Careful planning and understanding your system’s wiring are crucial for a successful integration.

Troubleshooting Wiring Issues
Common mistakes, power supply problems, and thermostat communication errors are frequent issues. Careful inspection of connections and voltage testing are vital for resolution.
Common Wiring Mistakes to Avoid
Incorrect wire connections are the most frequent cause of Aprilaire 600 wiring problems. Always double-check the wiring diagram before making any connections, ensuring each wire is securely fastened to the correct terminal. A loose connection can lead to intermittent operation or complete failure.
Misidentifying thermostat wires is another common error. The ‘R’, ‘C’, ‘G’, ‘Y’, and ‘W’ wires have specific functions, and swapping them can damage the humidifier or thermostat. Use a multimeter to verify wire voltages if unsure.
Ignoring polarity, especially with the power supply, can cause serious damage. Ensure the correct voltage is supplied and that the polarity matches the humidifier’s requirements. Finally, avoid over-tightening screws, which can strip the terminals. Careful and deliberate wiring is key to a successful installation.
Diagnosing Power Supply Problems
If your Aprilaire 600 isn’t receiving power, begin by verifying the power source. Check the circuit breaker to ensure it hasn’t tripped. Use a non-contact voltage tester to confirm voltage is reaching the humidifier’s wiring connections.
Next, inspect the transformer. A faulty transformer is a common culprit. Use a multimeter to test the transformer’s output voltage, comparing it to the specification in the Aprilaire 600 manual. Low or no voltage indicates a transformer issue.
Also, examine the wiring for any breaks or loose connections between the power source and the control board; A damaged wire can interrupt the power supply. Finally, ensure the humidifier is properly grounded. A poor ground can cause electrical issues and safety hazards.
Addressing Thermostat Communication Errors
When the Aprilaire 600 fails to communicate with your thermostat, the first step is to verify the thermostat wiring. Double-check that the R, C, G, Y, and W wires are securely connected to the correct terminals on both the thermostat and the Aprilaire control board.
Inspect the thermostat’s batteries (if applicable) and replace them if they are low. A weak battery can cause communication issues. Also, confirm that the thermostat is set to a compatible mode for humidifier control – typically ‘heat’ or ‘auto’.
If using a smart thermostat, ensure it’s properly integrated with the Aprilaire 600 within the thermostat’s app. Check for firmware updates for both the thermostat and the Aprilaire control board. Finally, a wiring conflict can occur; consult the Aprilaire 600 manual for specific wiring configurations.
Additional Resources
For detailed guidance, locate the official Aprilaire 600 manual and Humidifier Control Safety and Installation Instructions online. Contact Aprilaire support for assistance.
Locating the Official Aprilaire 600 Manual
Finding the official Aprilaire 600 manual is crucial for a successful and safe installation. Aprilaire provides several avenues for accessing this vital resource. The most direct method is to visit the Aprilaire website – aprilaire.com – and navigate to their support or documentation section. There, you can typically search for the Model 600 manual by entering the model number.
Alternatively, a comprehensive search on Google or your preferred search engine using terms like “Aprilaire 600 manual PDF” will often yield direct links to downloadable manuals. Many HVAC supply websites also host these manuals for customer convenience. Ensure the manual you download is specifically for the Aprilaire 600, as variations exist between models.
The manual contains detailed wiring diagrams, installation instructions, troubleshooting guides, and safety precautions. Always refer to the official manual before attempting any wiring or installation work. It’s the definitive source for accurate information regarding your specific Aprilaire 600 humidifier.
Humidifier Control Safety and Installation Instructions
Prioritizing safety during Aprilaire 600 installation is paramount. Always disconnect power to the furnace before commencing any wiring work. Incorrect wiring can lead to electrical shock, fire hazards, or damage to the humidifier and furnace. The official Aprilaire installation instructions emphasize the importance of adhering to local electrical codes and regulations.
Proper grounding is essential for safe operation. Ensure all connections are secure and that wire nuts are appropriately sized. When installing the control panel, choose a location that is easily accessible but protected from moisture and extreme temperatures. The manual details specific requirements for bypass duct connections, ensuring proper airflow and preventing condensation.
Carefully follow the wiring diagrams provided, paying close attention to thermostat connections (R, C, G, Y, W) and the outdoor temperature sensor. Never attempt to modify the wiring beyond the instructions provided in the manual. Improper installation voids the warranty and compromises safety.
Contacting Aprilaire Support
Should you encounter difficulties with the Aprilaire 600 wiring or require clarification beyond the manual, Aprilaire offers several avenues for support. Their dedicated customer service team can provide expert assistance with installation questions, troubleshooting wiring issues, and understanding the control board functionalities.
You can reach Aprilaire support via phone during business hours. Their website, www.aprilaire.com, provides a comprehensive FAQ section, downloadable resources, and a contact form for submitting inquiries. Many users find the online resources particularly helpful for locating specific wiring diagrams and troubleshooting guides.
When contacting support, having your humidifier’s model number and serial number readily available will expedite the process. Be prepared to describe the issue in detail, including the wiring configuration and any error messages displayed. Aprilaire’s support team is committed to ensuring a smooth and successful installation experience.