Navigating laundry day can be frustrating when your washing machine malfunctions! This comprehensive guide offers solutions for common issues, empowering you to diagnose and potentially fix problems yourself, saving time and repair costs.
From leaks and spinning failures to drainage difficulties, we’ll cover essential troubleshooting steps, helping you restore your machine’s performance and maintain a smooth laundry routine.
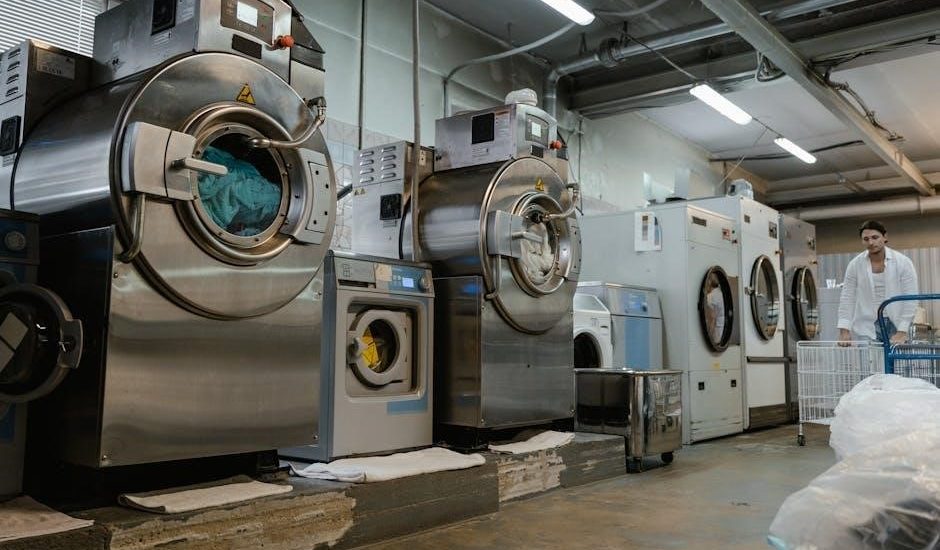
Modern washing machines, while generally reliable, are complex appliances susceptible to a range of issues. Understanding these potential problems is the first step towards effective troubleshooting and preventing costly repairs. Many homeowners attempt DIY fixes before calling a professional, and a little knowledge can go a long way.
Common problems often stem from simple causes like overloaded drums, incorrect detergent usage, or obstructions in the drain system. However, more serious mechanical or electrical faults can also occur, requiring a more detailed investigation. Ignoring early warning signs – unusual noises, leaks, or inefficient cleaning – can exacerbate the issue and lead to further damage.
This guide aims to equip you with the basic knowledge to identify, diagnose, and resolve many common washing machine problems. We’ll cover everything from water supply and drainage issues to operational malfunctions and preventative maintenance tips, empowering you to keep your laundry routine running smoothly.
Common Washing Machine Problems Overview
A multitude of issues can disrupt your laundry process. Frequently, homeowners encounter problems with water – machines failing to fill, draining improperly, or even leaking. Operational hiccups are also common, including machines that won’t start, won’t spin, or shake violently during cycles.
Beyond these, unpleasant odors, mold and mildew growth, and lint buildup can compromise cleaning performance and hygiene. Electrical faults, such as error codes or a faulty door lock, can also halt operation. Sometimes, seemingly minor issues, like forgetting to check pockets, contribute to larger problems like blocked drain pumps.
These issues aren’t always indicative of a major breakdown; often, simple fixes like cleaning a filter or adjusting the load can resolve the problem. However, recognizing the symptoms and understanding potential causes is crucial for effective troubleshooting and preventing further damage. Proactive maintenance can significantly reduce the likelihood of these issues.

Water Supply & Drainage Issues
Addressing water-related problems is vital for a functioning washing machine; issues range from inadequate filling to complete drainage failures, impacting cleaning effectiveness.
Washing Machine Not Filling with Water
If your washing machine isn’t filling with water, several factors could be at play. First, verify the water supply valves are fully open – both hot and cold. A simple check is to ensure the hoses aren’t kinked or crushed, restricting water flow.
Next, inspect the inlet valve screens for sediment or debris buildup; these screens filter water entering the machine and can become clogged over time. Carefully clean them. A faulty inlet valve itself is another common culprit, preventing water from entering.
Consider the water pressure in your home; low pressure can hinder filling. Also, check the lid switch or door lock; many machines won’t fill if the lid/door isn’t properly secured. Finally, a malfunctioning control board could be the root cause, requiring professional diagnosis.
Washing Machine Not Draining Properly
A washing machine failing to drain is a frequent issue, often stemming from a blockage. Begin by checking the drain hose for kinks or obstructions – ensure it isn’t bent or pinched. Next, locate and inspect the drain pump filter; this commonly collects lint, coins, and small objects. Carefully remove and clean the filter, as this often resolves the problem.
If the filter is clear, the drain pump itself might be faulty. Listen for humming sounds during the drain cycle; silence could indicate a pump failure. A clogged drain pump impeller is also possible, preventing effective water removal.
Furthermore, verify the drain hose isn’t inserted too far into the drainpipe, which can cause siphoning. Finally, a blockage within the drainpipe itself could be the issue, requiring plumbing intervention.
Blocked Drain Pump ⎯ Causes and Solutions
A blocked drain pump is a primary culprit when a washing machine won’t drain. Common causes include lint buildup, small objects like coins or buttons, and even stray socks finding their way into the pump housing. These obstructions prevent the impeller from spinning, halting the draining process.
To address this, first disconnect the washing machine from power. Locate the drain pump access panel (usually at the front or bottom of the machine). Place a shallow pan and towels ready to catch any residual water. Carefully remove the pump cover and inspect for blockages.
Manually remove any debris found within the pump. Ensure the impeller spins freely after clearing obstructions. If the pump appears damaged or the impeller won’t turn, replacement may be necessary. Reassemble the pump, and test the machine to confirm proper drainage.
Kinked or Blocked Drain Hose
A seemingly simple issue, a kinked or blocked drain hose can prevent proper water expulsion from your washing machine. Kinks restrict water flow, while blockages – often caused by lint, soap scum, or small items – completely obstruct drainage. This results in standing water within the drum.
Begin by visually inspecting the entire length of the drain hose for any sharp bends or kinks. Straighten any kinks you find. Next, disconnect the hose from both the washing machine and the drainpipe. Carefully examine the hose interior for obstructions.
You can use a long, flexible brush or a garden hose with a nozzle to flush out any blockages. Ensure the water flows freely through the hose after cleaning. Reconnect the hose securely, avoiding kinks, and run a test cycle to verify proper drainage.

Operational Problems
When your washing machine refuses to cooperate, operational issues arise! Addressing these concerns—like failure to start or spin—requires a systematic approach to diagnosis and repair.
Washing Machine Won’t Start
A washing machine that won’t start can be incredibly frustrating, halting your laundry routine. First, verify the power supply: is the machine plugged in securely, and is the outlet working? Test the outlet with another appliance to confirm. Next, check the lid switch or door lock; the machine won’t start if it doesn’t sense the door is properly closed.
Inspect the control panel for any error codes, as these can provide clues to the problem. Consult your washing machine’s manual for a code explanation. If the start/pause button isn’t responding, it could indicate a control board issue. Sometimes, a simple reset can resolve minor glitches – unplug the machine for a few minutes, then plug it back in.
For more complex issues, like a faulty motor or a damaged control board, professional repair may be necessary. Remember safety first – always disconnect the power before attempting any repairs!
Washing Machine Not Spinning
When your washing machine fills with water but refuses to spin, it leaves clothes soaking wet and disrupts your schedule. Begin by checking for an unbalanced load – redistribute items evenly inside the drum. Ensure the lid switch or door lock is functioning correctly, as the machine won’t spin if it thinks the door is open.
Inspect the drain hose; if it’s kinked or clogged, the machine may not spin to extract water. A faulty drive belt is a common culprit – if it’s worn or broken, the drum won’t rotate. Accessing and replacing the drive belt often requires some disassembly, so proceed with caution.
Consider the motor coupling; a broken coupling prevents power from reaching the drum. If these checks don’t resolve the issue, a more serious motor or control board problem might be present, requiring professional assistance.
Washing Machine Shaking Violently During Spin Cycle
A violently shaking washing machine during the spin cycle is alarming and can damage both the appliance and your flooring. The most frequent cause is an unbalanced load; pause the cycle and redistribute the clothes evenly around the drum. Ensure the washing machine is level – use a level tool and adjust the feet accordingly.
Check for shipping bolts, if recently installed, as these must be removed to allow proper operation. Worn shock absorbers or suspension rods can also contribute to excessive shaking; these components dampen vibrations and need replacement if damaged. Inspect the tub bearing for wear, as a failing bearing can cause significant instability.
Overloading the machine exacerbates the problem, so adhere to the manufacturer’s recommended capacity. If the issue persists after these checks, a professional technician may be needed to diagnose more complex mechanical failures.
Unbalanced Load Troubleshooting
An unbalanced load is a primary culprit behind washing machine shaking and error messages. To troubleshoot, immediately pause the cycle and manually redistribute the wet laundry within the drum, ensuring even weight distribution. Avoid washing single, bulky items like rugs or comforters alone, as they easily create imbalance.
Instead, add a few smaller items to balance the load. Consider the fabric type; heavy items like jeans should be washed with similar weights. If the machine repeatedly stops due to imbalance, check for items trapped between the inner and outer tubs – this requires professional attention.
Always follow the manufacturer’s guidelines for load capacity; overloading prevents proper balancing. Regularly check pockets for heavy objects like coins or keys before washing. A properly balanced load ensures efficient cleaning and prevents damage to your appliance.
Cleaning & Maintenance Related Issues
Regular cleaning prevents odors, mold, and reduced performance. Addressing lint buildup and maintaining a fresh interior are crucial for extending your washing machine’s lifespan.
Washing Machine Smells Bad
A foul odor emanating from your washing machine is a common, yet unpleasant, problem. Often, this stems from a buildup of detergent residue, fabric softener, and trapped moisture creating a breeding ground for mold and mildew. Front-load washers are particularly susceptible due to their rubber door gaskets, which can trap water and debris.
To combat this, regularly run a cleaning cycle with hot water and either washing machine cleaner, bleach (if your machine allows), or a mixture of vinegar and baking soda. Pay close attention to the detergent dispenser, removing any lingering residue. Wipe down the door gasket after each use to prevent moisture accumulation.
Leaving the washing machine door ajar after cycles allows for better ventilation, discouraging mold growth. Additionally, ensure you’re using the correct amount of detergent; excessive detergent contributes to residue buildup. Consider switching to a liquid detergent, as powder detergents can sometimes leave behind more residue. Persistent odors may indicate a deeper issue, potentially requiring professional cleaning or inspection.
Mold and Mildew Growth in Washing Machine
Mold and mildew thrive in the damp environment of a washing machine, particularly in front-load models. Visible black or greenish growth, often around the rubber door gasket, is a clear sign of a problem, but musty odors can indicate hidden growth. This isn’t just unpleasant; it can trigger allergies and affect laundry cleanliness.
Regular cleaning is crucial for prevention. Run a hot water cycle with bleach (if compatible with your machine) or a washing machine cleaner monthly. Thoroughly wipe down the door gasket after every wash, removing any trapped moisture and debris. Leave the door slightly ajar between washes to promote airflow and drying.
Inspect the detergent dispenser for buildup and clean it regularly. Consider using less detergent, as excess residue feeds mold growth. For stubborn mold, a solution of vinegar and baking soda can be effective. If the problem persists, professional cleaning may be necessary to eliminate deeply embedded mold spores.
Lint Buildup and Removal

Lint accumulation is a common issue, reducing washing machine efficiency and potentially causing clogs. Visible lint on clothes after washing, or a longer drain time, signals a buildup. Regular removal is essential for optimal performance and preventing more serious problems.
Most washing machines have a lint filter, typically located near the drum or drain hose. Clean this filter after each load, or at least weekly, depending on usage. For machines without a dedicated filter, consider using a lint trap bag in the washing machine. Periodically check and clean the drain pump, as lint can accumulate there too.
To minimize lint, shake out clothes before washing and empty pockets. Wash heavily linting items (like towels and fleece) separately. Avoid overloading the machine, as this prevents proper rinsing and lint removal. A vinegar rinse can help loosen lint fibers, aiding in their removal during the drain cycle.
Electrical & Mechanical Issues
Addressing complex problems requires caution! Electrical faults or mechanical failures demand professional attention for safety and effective repairs, preventing further damage.
Washing Machine Leaking Water
Discovering a leak can be alarming, but often the source is identifiable. First, inspect the door seal for cracks or debris, ensuring a tight closure during operation. Check the water inlet hoses and drain hose connections for looseness or damage – tighten or replace as needed.
Internal leaks might stem from the pump, tub, or internal hoses. Look for signs of water around these components. If the leak occurs during the fill cycle, the water inlet valve could be faulty. During the spin cycle, examine the tub bearing for wear or damage, as this can cause leaks.
Remember, electrical components and water don’t mix! Always disconnect the power before investigating internal leaks. If you’re uncomfortable or the leak persists, contact a qualified appliance repair technician to diagnose and resolve the issue safely and effectively. Ignoring a leak can lead to significant water damage and costly repairs.

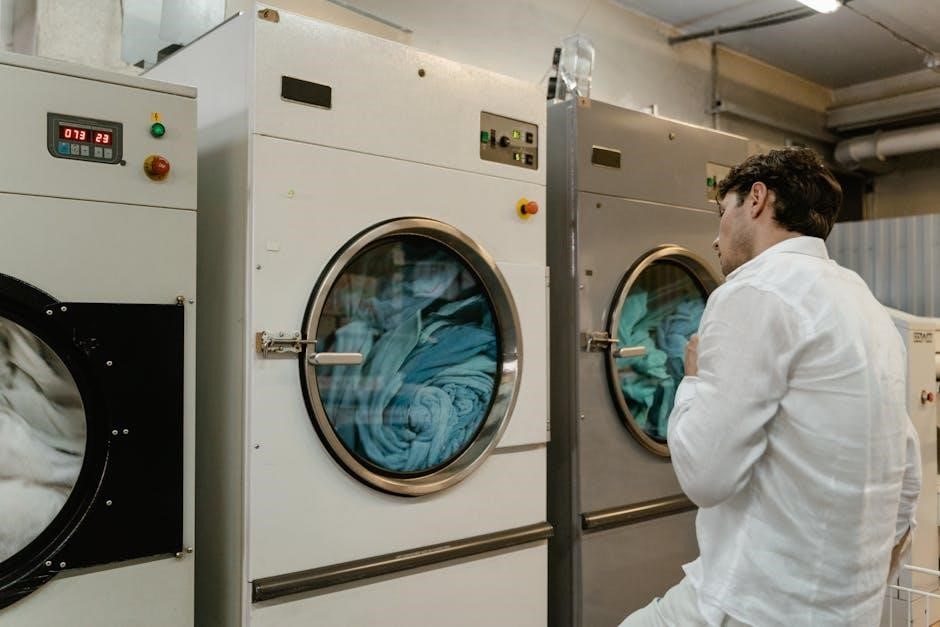
Error Codes and Their Meanings
Modern washing machines utilize error codes to pinpoint specific malfunctions, simplifying the diagnostic process. These codes, displayed on the machine’s control panel, offer valuable clues about the underlying issue. Consult your washing machine’s user manual for a comprehensive list of codes and their corresponding meanings – this is the most reliable source.
Common codes include “F01” or “E1” often indicating a water supply problem, while “F02” or “E2” typically signals a drainage issue. Codes related to the door lock, motor, or sensor failures are also frequent. Understanding these codes can help you determine if a simple fix, like clearing a drain blockage, is possible.
However, some codes may indicate more complex problems requiring professional attention. Don’t attempt repairs beyond your skill level. Always disconnect the power before investigating and refer to the manual before resetting the machine or attempting any fixes. Proper interpretation of error codes saves time and potential repair costs.
Faulty Door Lock Switch
A malfunctioning door lock switch prevents the washing machine from starting or completing a cycle, as it’s a crucial safety feature. The switch ensures the door is securely closed before operation, preventing water leaks and mechanical damage. If the machine doesn’t start, even when the door appears closed, suspect a faulty switch.
Testing the switch requires a multimeter to check for continuity. If there’s no continuity, the switch needs replacing. Visually inspect the switch for physical damage or corrosion. Replacing the switch typically involves removing the control panel and accessing the switch located near the door latch.
Caution: Always disconnect the power supply before attempting any repairs. Incorrect installation can compromise safety, so follow the manufacturer’s instructions carefully. If you’re uncomfortable with electrical repairs, consult a qualified appliance technician. A functioning door lock switch is vital for safe and reliable operation.
Worn Drive Belt Replacement
A worn or broken drive belt commonly causes the washing machine drum to fail to spin, or spin weakly. This belt connects the motor to the drum, transferring power for agitation and spinning. Signs of a worn belt include squealing noises during operation or a noticeable slackness when inspected. Replacement is a relatively straightforward repair for those comfortable with appliance maintenance.
The process involves accessing the belt, usually from the rear of the machine, after disconnecting power. Carefully note the belt’s routing before removal – a photograph can be helpful! Ensure the new belt is the correct size and type for your model. Reinstall the new belt, ensuring it’s properly seated on the motor pulley and drum.
Always double-check the belt’s tension and alignment before restoring power. A loose belt will slip, while an overtightened belt can damage the motor or drum bearings. If unsure, consult a repair manual or professional technician.
Preventative Maintenance
Regular upkeep extends your washing machine’s lifespan and prevents costly repairs! Simple habits like filter cleaning, pocket checks, and proper detergent use are incredibly effective.
Regular Filter Cleaning
Maintaining a clean washing machine filter is paramount for optimal performance and preventing a host of issues. Over time, lint, debris, and small objects – even forgotten items from pockets – accumulate within the filter, restricting water flow and hindering the machine’s ability to drain effectively. This buildup can lead to longer wash cycles, reduced cleaning power, and even complete drainage failure.
Most washing machines feature a filter typically located behind a small access panel, often at the front bottom of the unit. Consult your owner’s manual for the precise location and instructions specific to your model. Regularly – ideally every month or after every 20 loads – remove and clean the filter. Be prepared for some residual water when opening the access panel; have towels handy! Thoroughly rinse the filter under running water, removing all traces of lint, hair, and debris. A clean filter ensures efficient operation and prolongs the life of your washing machine.
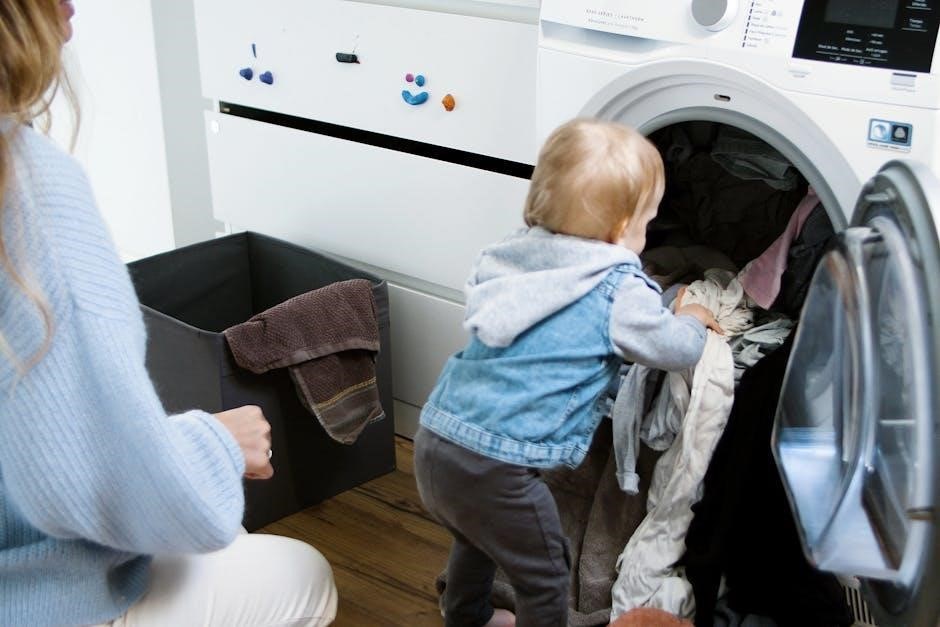
Checking Pockets Before Washing
A simple yet often overlooked preventative measure, diligently checking pockets before loading laundry can save you significant headaches and potential damage to your washing machine. Coins, keys, pens, and other small objects frequently find their way into pockets and, subsequently, into the wash cycle. These items can cause blockages in the drain pump, damage the drum, or even tear clothing.
The drain pump is particularly vulnerable; a foreign object lodged within it can prevent proper drainage, leading to standing water and potential motor burnout. Furthermore, hard objects like coins can scratch and damage the interior of the washing machine drum. Establishing a routine of thoroughly checking all pockets – and emptying them – before loading laundry is a small effort that yields substantial benefits. It protects your machine, your clothes, and your peace of mind, preventing costly repairs and extending the lifespan of your appliance.
Proper Detergent Usage
Utilizing the correct amount and type of detergent is crucial for optimal washing machine performance and clean laundry. Overusing detergent doesn’t necessarily mean cleaner clothes; instead, it can lead to excessive suds, residue buildup, and potential machine malfunctions. This buildup can clog drain pumps and hoses, hindering proper drainage and potentially causing leaks. Conversely, using too little detergent may result in inadequately cleaned clothes.
Always follow the detergent manufacturer’s instructions and adjust the amount based on load size and soil level. High-efficiency (HE) washing machines require specifically formulated HE detergents, which produce fewer suds. Using regular detergent in an HE machine can create an overwhelming amount of foam, damaging the machine’s components. Choosing the right detergent and using the appropriate quantity ensures effective cleaning and protects your washing machine from unnecessary wear and tear.